ListView in Android is ViewGroup used to display the list of items in more than one row and ListView in Android contains an adapter that is useful to automatically insert items to the list. So ListView in Android is a very important Component.
Items are inserted into the list from an Array of Databases using an Adapter. And to display the content of the list setAdapter() method is used. The main Application of the Adapter is to fetch data from an Array or Database and insert every item into the list.
setAdapter(): use it when the Adapter and list need to join.
You can also watch YouTube videos from our channel. To implement ListView in Android Studio
The steps to Create ListView In Android
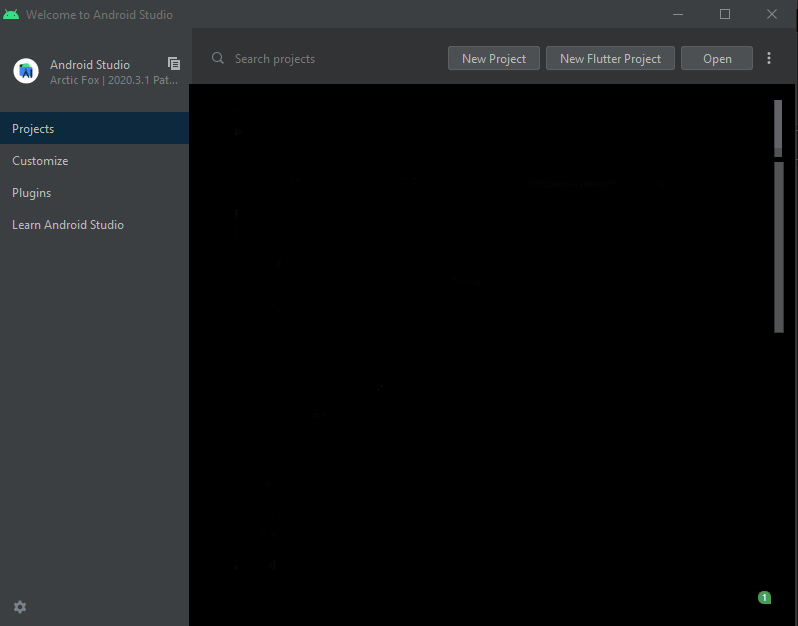
1. So, the first step is to Open Android Studio and create a new Project. Click “New Project” to create a new Project
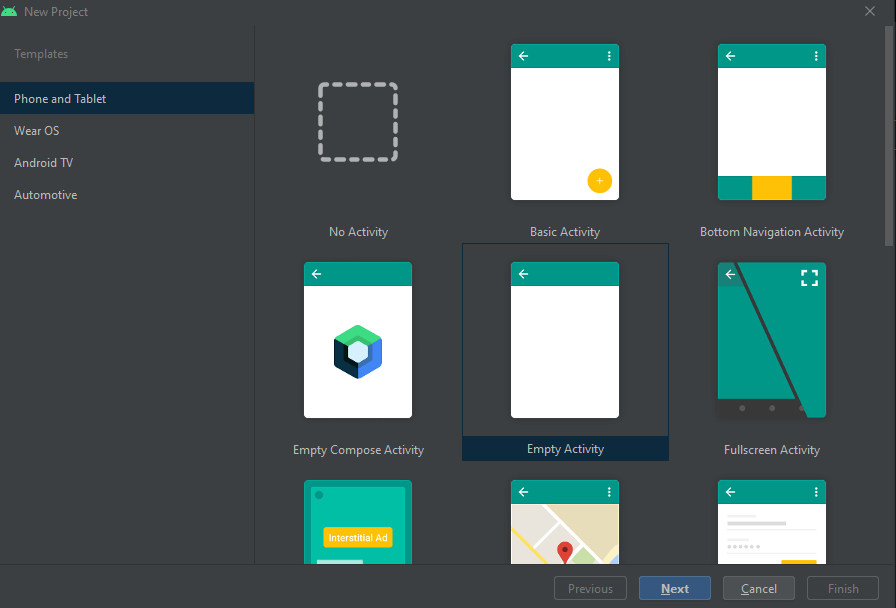
2. So now the Android Studio screen of multiple Activity will appear Select Empty Activity.
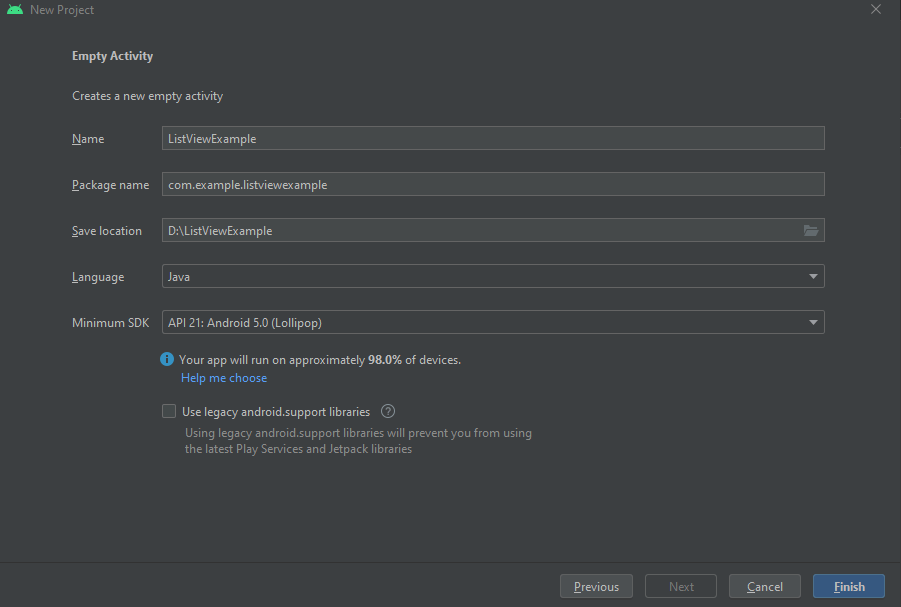
3. Next give the name of the Application. And select the place where do you want to store the application file. And the language in which you want to create an application either JAVA or KOTLIN. We are using Java in this tutorial. Now we have to select the Minimum SDK version of the Android Application which is the least SDK to run the Android Application. Click “Finish” to proceed.
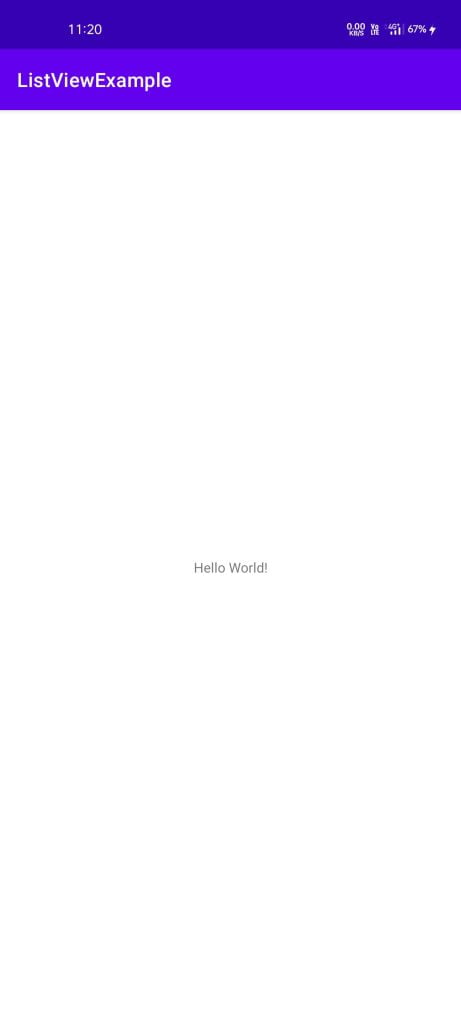
4. So Default Hello world application will be ready to use after the build is successfully created of the Android Application.
XML file:
<?xml version="1.0" encoding="utf-8"?>
<androidx.constraintlayout.widget.ConstraintLayout xmlns:android="http://schemas.android.com/apk/res/android"
    xmlns:app="http://schemas.android.com/apk/res-auto"
    xmlns:tools="http://schemas.android.com/tools"
    android:layout_width="match_parent"
    android:layout_height="match_parent"
    tools:context=".MainActivity">

    <TextView
        android:layout_width="wrap_content"
        android:layout_height="wrap_content"
        android:text="Hello World!"
        app:layout_constraintBottom_toBottomOf="parent"
        app:layout_constraintLeft_toLeftOf="parent"
        app:layout_constraintRight_toRightOf="parent"
        app:layout_constraintTop_toTopOf="parent" />

</androidx.constraintlayout.widget.ConstraintLayout>
JAVA file:
package com.example.listviewexample;

import androidx.appcompat.app.AppCompatActivity;

import android.os.Bundle;

public class MainActivity extends AppCompatActivity {

    @Override
    protected void onCreate(Bundle savedInstanceState) {
        super.onCreate(savedInstanceState);
        setContentView(R.layout.activity_main);
    }
}
Output:
5. Open the activity_main.xml file to edit and add the following code instead of the default TextView. Only change the TextView.
<ListView
        android:layout_width="match_parent"
        android:layout_height="match_parent"
        android:id="@+id/list"/>
6. So now open MainActivity.java and create the object for ListView.
ListView listView;7. And create a String and ArrayAdapter.
String[] listItems = {"Itme one", "Item two", "Item three"};
ArrayAdapter<String> adapter;
8. So now initialize listview with id “list”.
listView = findViewById(R.id.list);9. Now create a New Empty Resource Layout file to use the list. by right-clicking the res folder and clicking on “New” and adding a new Resource Layout file.
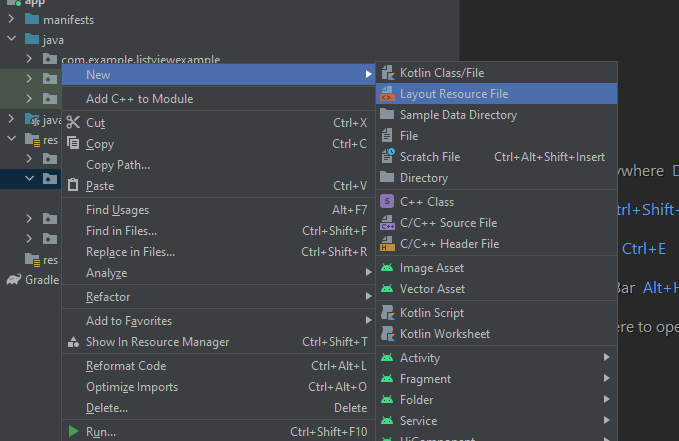
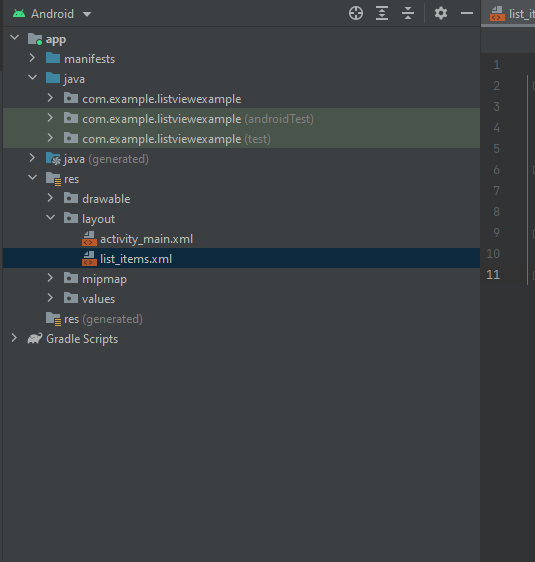
So, open this file and add TextView to this file.
<TextView
        android:layout_gravity="center"
        android:padding="10dp"
        android:textStyle="bold"
        android:layout_width="wrap_content"
        android:layout_height="wrap_content"
        android:id="@+id/listText" />
10. So, Now initialize the ArrayAdapter with and pass the layout to the constructor
adapter = new ArrayAdapter<>(this, R.layout.list_items, R.id.listText, listItems);And this will contain 4 parameters
- Context
- Layout
- Id of the text view
- An array of the List Items
So now set the Adapter to the ListView
listView.setAdapter(adapter);11. So now set on click listener to the ListView. So whenever the user clicks on any item of ListView a toast message of the content from that list item will be displayed.
listView.setOnItemClickListener(new AdapterView.OnItemClickListener() {
            @Override
            public void onItemClick(AdapterView<?> parent, View view, int position, long id) {
                //step 8 getting value form list
                String value = adapter.getItem(position);
                Toast.makeText(getApplicationContext(),value,Toast.LENGTH_SHORT ).show();
            }
        });
Output:
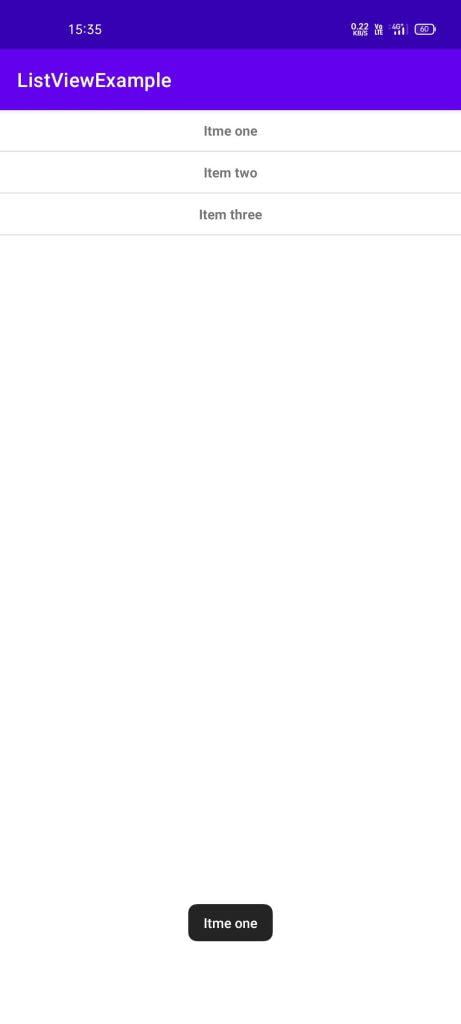
So in this article, we have seen how to implement Listview in Android Studio and how we can set the method setOnClickListener on it and whenever the user clicks on the Items of the list and same Content of that list items will display as toast method.
Read more:
