
WebView in Android Studio is the view that is used to display web pages inside our Android Application. It turns our web applications/websites into android applications. It is an extension of the Android View Class that allows displaying web pages as the part of activity layout.
Application of WebView
- To display user application user guide
- To display the End-user agreement.
- Even the top apps like amazon use WebView on their apps.
Let us implement WebView in our Android Application.
Steps to Create WebView in Android
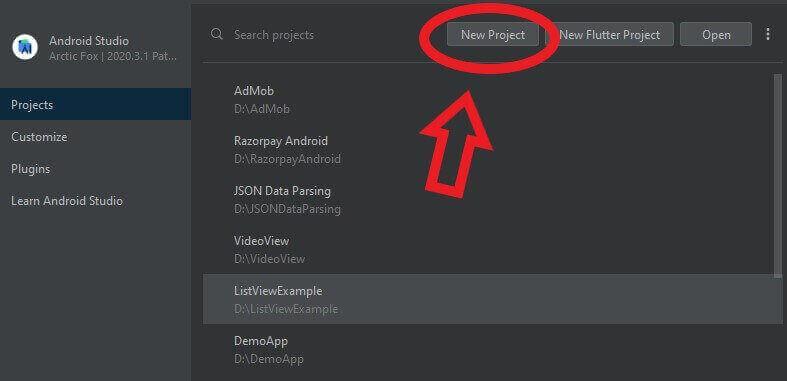
1. So, Now open Android Studio and Create a new Project for WebView In Android.
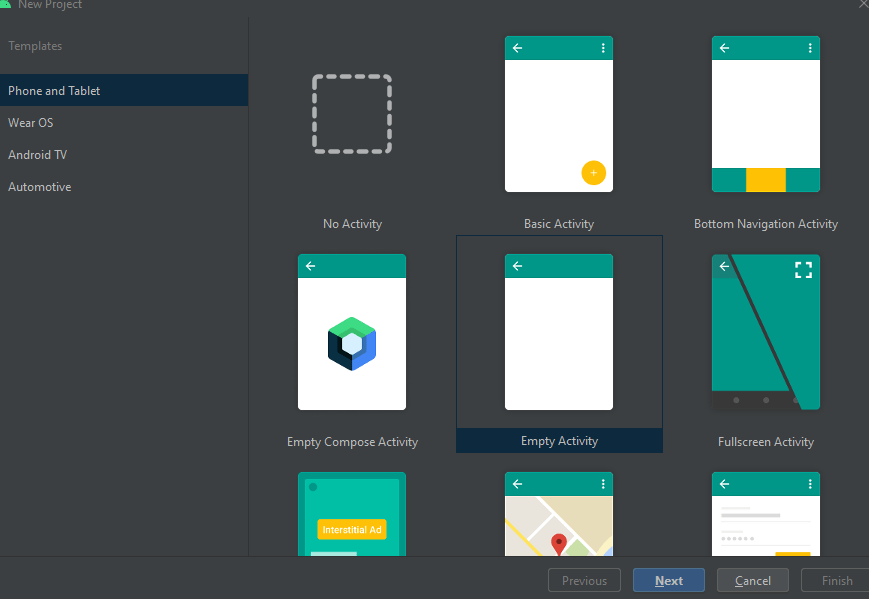
2. Then select Activity of an Android Application. Generally, people choose Empty Activity.
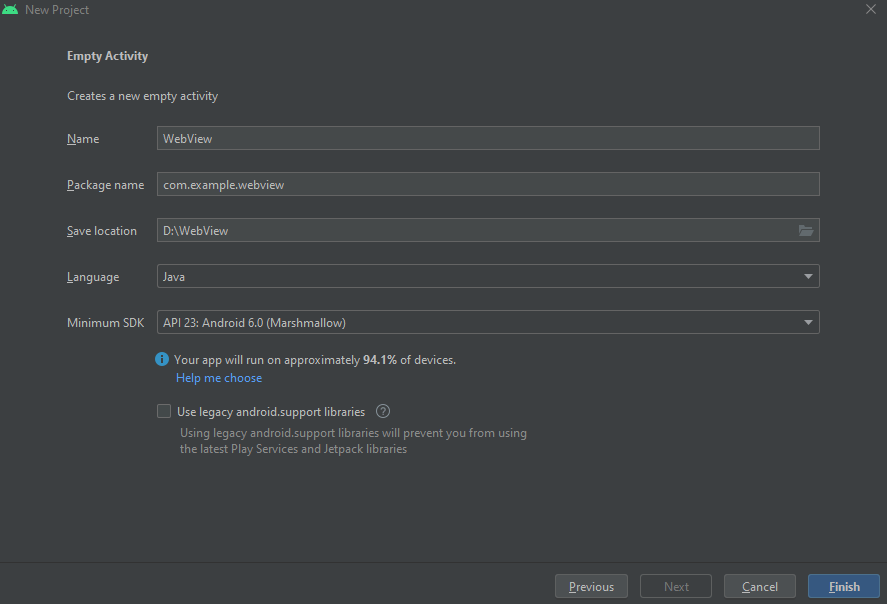
3. So, Give the Name to the application and set the minimum version of SDK to run Android Application.
4. Then Open the activity_main.xml file (app>res>layout>activity_main.xml) and change parent Layout ConstrainLayout to RelativeLayout.
5. So, Delete the default TextView code and add WebView code and set height and width as match parent cause we want to display this WebView to cover the entire screen. Then set id as well.
<WebView
        android:layout_width="match_parent"
        android:layout_height="match_parent"
        android:id="@+id/webview"/>
6. Open MainActivity.java file(app>java>com.example.WebView>MainActivity.java) and create Webview variable. before the onCreate() method.
WebView webView;7. Then initialize webView with activity_main.xml WebView.
webView = findViewById(R.id.webview);
8. So, now we have to load the URL by the method provided by WebView classes.
webView.loadURL("https://www.codeseasy.com");9. Every time when we use WebView in the Android application it will load the URL on the external browser, but if we want to load the URL inside our Android Application. We can add the below code to do that.
webView.setWebViewClient(new WebViewClient());10. Then now open the AndroidMenifest.xml file (app>manifest>AndroidMenifest.xml) and write code for user permission for INTERNET.
<uses-permission android:name="android.permission.INTERNET"/>So, Now if we press the back button after loading the URL it would close the application. We need to override this using onBackPressed() method.
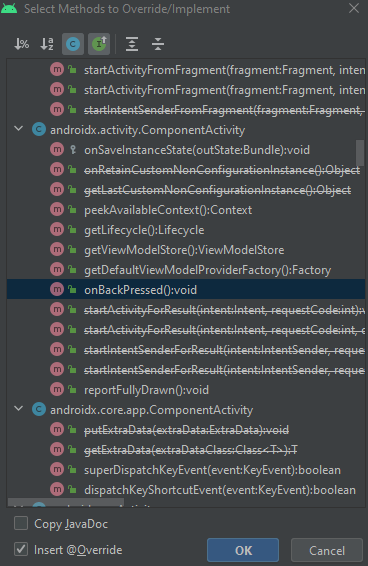
11. Then press ctrl+O and search the onBackPressed() method. This method will be written outside the onCreate() method.
12. We have to check if going back is possible or not. Then to get users back to the previous page we have the method goBack() in WebView that is used to get users back to the previous page.
onBackPressed()
 @Override
    public void onBackPressed() {
        if(webView.canGoBack())
        {
            webView.goBack();
        }
        else
        {
            super.onBackPressed();
        }
    }
The output of Webview in Android:
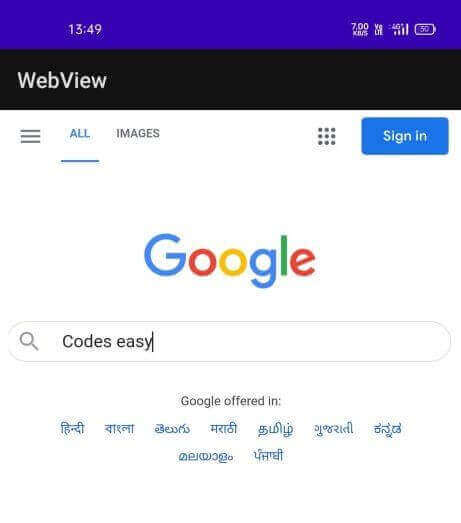
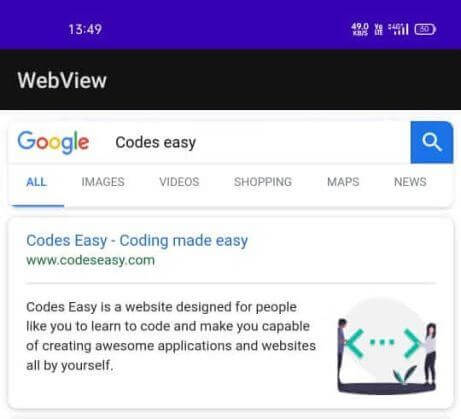
Congratulations WebView in Android Application is ready to use and if you have any doubt related WebView you can surely ask in the comment section we would be happy to help you out. you can also read about Android Studio implementations like ListView in Android studio