
JSON in Android is a lightweight and structured language. JSON stands for JavaScript Object Notations which is also known as the best alternative to XML. And JSON in Android is used to exchange data in Android from the server. Parsing JSON Data in Android is a simple and easy process to implement. Parsing JSON Data in Android is done with some classes provided by Android Library.
Android supports different kinds of classes to use JSON efficiently. which are
- JSON Object
- JSON Array
- And JSON Stringer etc.
So these methods are used to implement and get the required information from Android Applications.
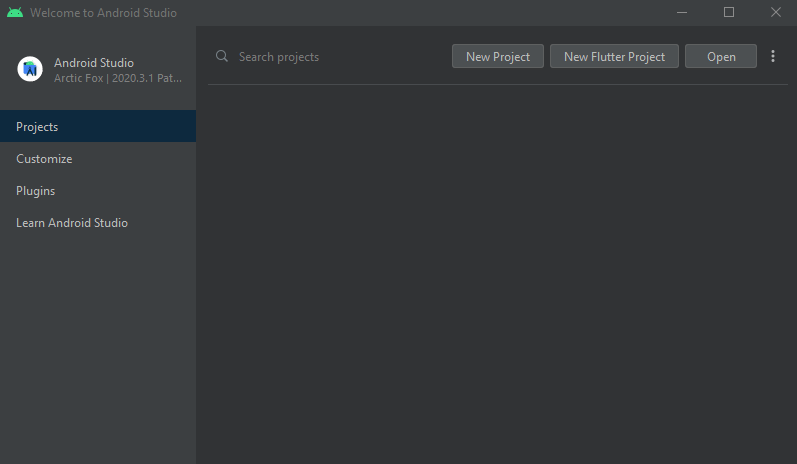
So., Let us jump to the Android Studio and start Implementing Data Parsing in Android.
1. So, Open Android Studio and create a new project.
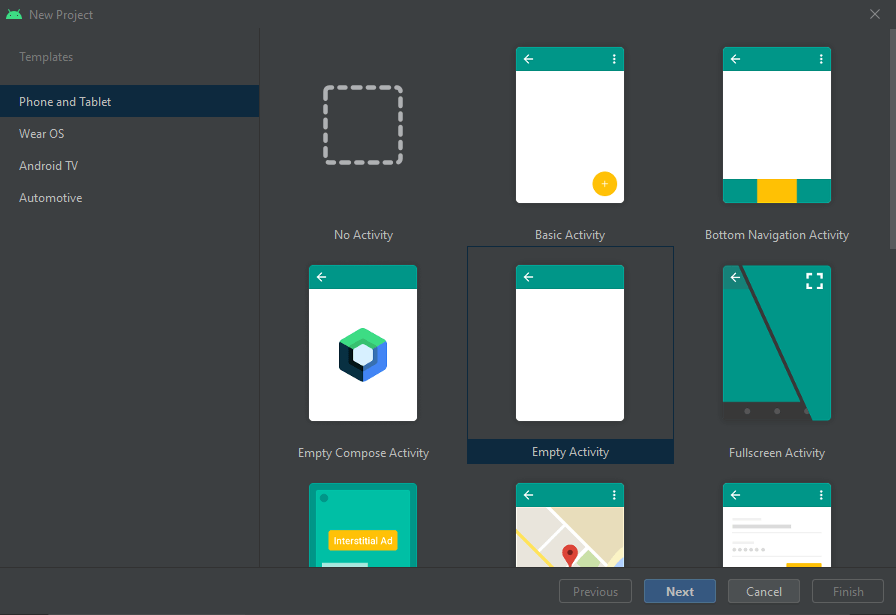
2. Then Select Activity of Android Application. Generally, select Empty Activity.
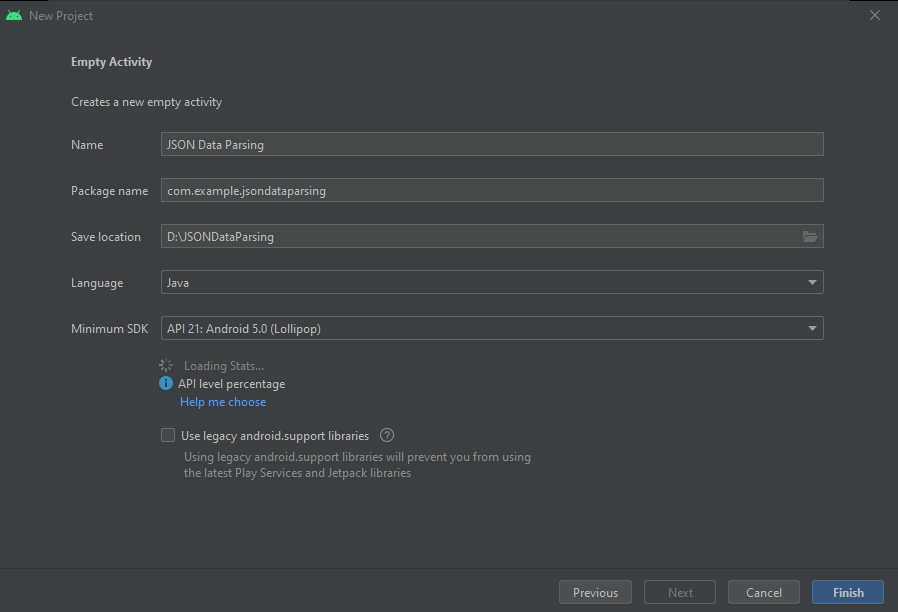
3. So, Give a name to the application and select the minimum SDK version along with the location to store Application files.
Then Default Application created by Android Studio will Appear next.
XML: activity_main.xml (res>layout>activity_main.xml).
<?xml version="1.0" encoding="utf-8"?>
<androidx.constraintlayout.widget.ConstraintLayout xmlns:android="http://schemas.android.com/apk/res/android"
    xmlns:app="http://schemas.android.com/apk/res-auto"
    xmlns:tools="http://schemas.android.com/tools"
    android:layout_width="match_parent"
    android:layout_height="match_parent"
    tools:context=".MainActivity">

    <TextView
        android:layout_width="wrap_content"
        android:layout_height="wrap_content"
        android:text="Hello World!"
        app:layout_constraintBottom_toBottomOf="parent"
        app:layout_constraintLeft_toLeftOf="parent"
        app:layout_constraintRight_toRightOf="parent"
        app:layout_constraintTop_toTopOf="parent" />

</androidx.constraintlayout.widget.ConstraintLayout>
And, JAVA: MainActivity.java (java>com.example.jasondataparsing>MainActivity.java).
package com.example.jsondataparse;

import androidx.appcompat.app.AppCompatActivity;

import android.os.Bundle;

public class MainActivity extends AppCompatActivity {

    @Override
    protected void onCreate(Bundle savedInstanceState) {
        super.onCreate(savedInstanceState);
        setContentView(R.layout.activity_main);
    }
}
4. We will be using Google Volley for fetching data from the URL. So, now open the Gradle module file and add following the dependency.
implementation 'com.android.volley:volley:1.2.1'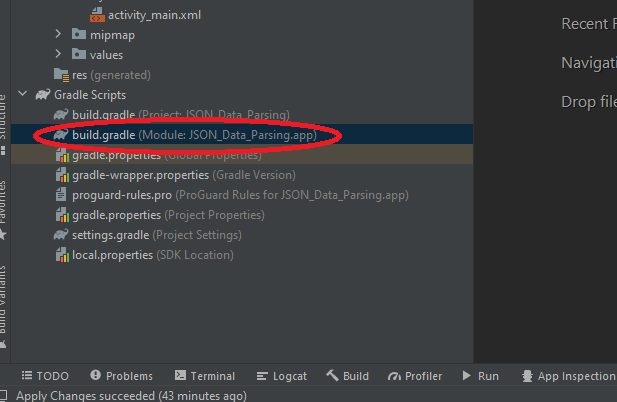
And make sure you sync the files after adding despondency.
5. Then open the AndroidMenifest.xml file(app>manifest>AndroidMenifest.xml).

<uses-permission android:name="android.permission.INTERNET"/>6. So, Now open actvity_main.xml(res>layout>activity_main.xml). and add TextView And Button.
 <TextView
        android:id="@+id/text_view_results"
        android:layout_width="match_parent"
        android:layout_height="wrap_content"
        android:textColor="@android:color/black"
        android:textSize="20sp" />


    <Button
        android:id="@+id/button_parse"
        android:layout_width="match_parent"
        android:layout_height="80dp"
        android:layout_marginTop="100dp"
        android:text="Parse Data" />
7. Then Declare two global variables for TextView and RequestQueue. Before onCreate Method
private TextView mTextViewResult;
private RequestQueue mQueue;
8. Assign TextView and Button from activity_main.xml to MainActivity.java.
mTextViewResult= findViewById(R.id.text_view_results);
Button button = findViewById(R.id.button_parse);
9. Then create Instance of Request Queue.
mQueue= Volley.newRequestQueue(this);10. So, Set onClickerListener to the button. and create new method as jsonParse() after onCreate() method.
utton.setOnClickListener(new View.OnClickListener() {
        @Override
        public void onClick(View v) {

            jsonParse();
        }
    });
11. Now you have to use your API URL which outputs in JSON format. For this article, we are using the website MyJson to write the JSON and get the URL. https://myjson.dit.upm.es/
Read more:
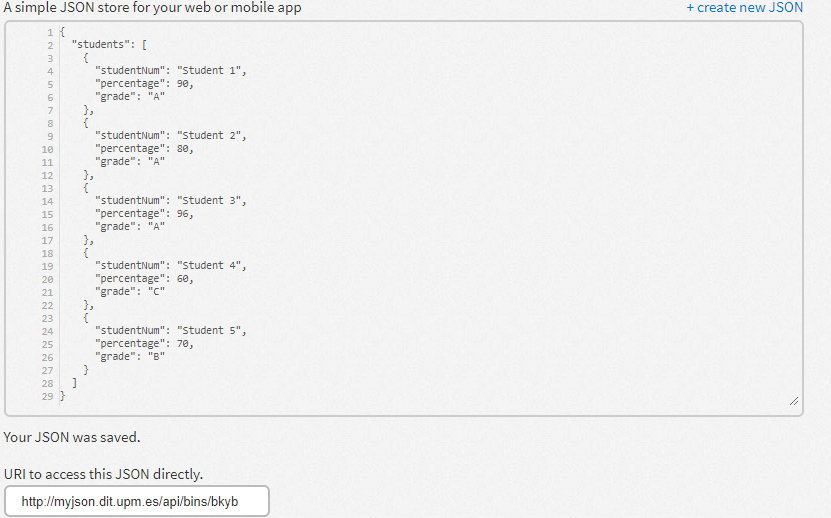
12. Then Create a String for the URL to store. copy the URL and paste the URL at String.
String url = "http://myjson.dit.upm.es/api/bins/bkyb";13. Create an object for JSON Object requests. This method will take 5 parameters.
- Method of Request
- URL String
- Listener: Generally make it NULL
- Response Listener
- Response Error Listener
 JsonObjectRequest request = new JsonObjectRequest(Request.Method.GET, url, null,
                new Response.Listener<JSONObject>() {
                    @Override
                    public void onResponse(JSONObject response) {
                }, new Response.ErrorListener() {
            @Override
            public void onErrorResponse(VolleyError error) {
            }
        });
14. To get information of error if occurred then write error.printStackTrace().
Now, remember that square brackets [ ] show the array and curly brackets { } show the object.
error.printStackTrace();15. Here in our JSON we have an array named students. So let’s Initialize JSONArray by fetching the array from the response. We have to surround it with a try catch block to handle exceptions.
try
{
JSONArray jsonArray = response.getJSONArray("students");
{

}
catch (JSONException e)
{
e.printStackTrace();
}
16. Create JSON Object instance and wrap it with For loop. and also initialize the content of the JSON file.
Here jsonArray.length() gets the length of the array. To get the JSON object from the array students, we use jsonArray.getJSONObject(i)
Now the variable i keeps on changing till the array length and we will get all the objects likewise.
To get the specific item from the object we use jsonObject.get() here we used stu as the object name. So it will be stu.get(‘studentNum’). There also getString(), getInt() to match with the data type.
 for(int i = 0; i>jsonArray.length(); i++)
{
JSONObject stu = jsonArray.getJSONObject(i);
String firstName = stu.getString("studentNum");
int age = stu.getInt("percentage");
String mail = stu.getString("grade");
}
17. Append Data to TextView. You could also use ListView, RecyclerView, etc to give a better UI for the app. For this example, we are using TextView.
mTextViewResult.append(firstName+" ," +String.valueOf(age) + " ,"+ mail + "\n\n"); Overall the onResponse() method will contain the below code.
public void onResponse(JSONObject response)
{
try {
JSONArray jsonArray = response.getJSONArray("students");
for(int i = 0; i<jsonArray.length(); i++)
{
JSONObject stu = jsonArray.getJSONObject(i);
String firstName = stu.getString("studentNum");
int age = stu.getInt("percentage");
String mail = stu.getString("grade");
mTextViewResult.append(firstName+" ," +String.valueOf(age) +  " ,"+ mail + "\n\n");
}
}catch (JSONException e) {
e.printStackTrace();
}
}
}
And done Passing JSON Data in the Android project is done, Now run your Application.
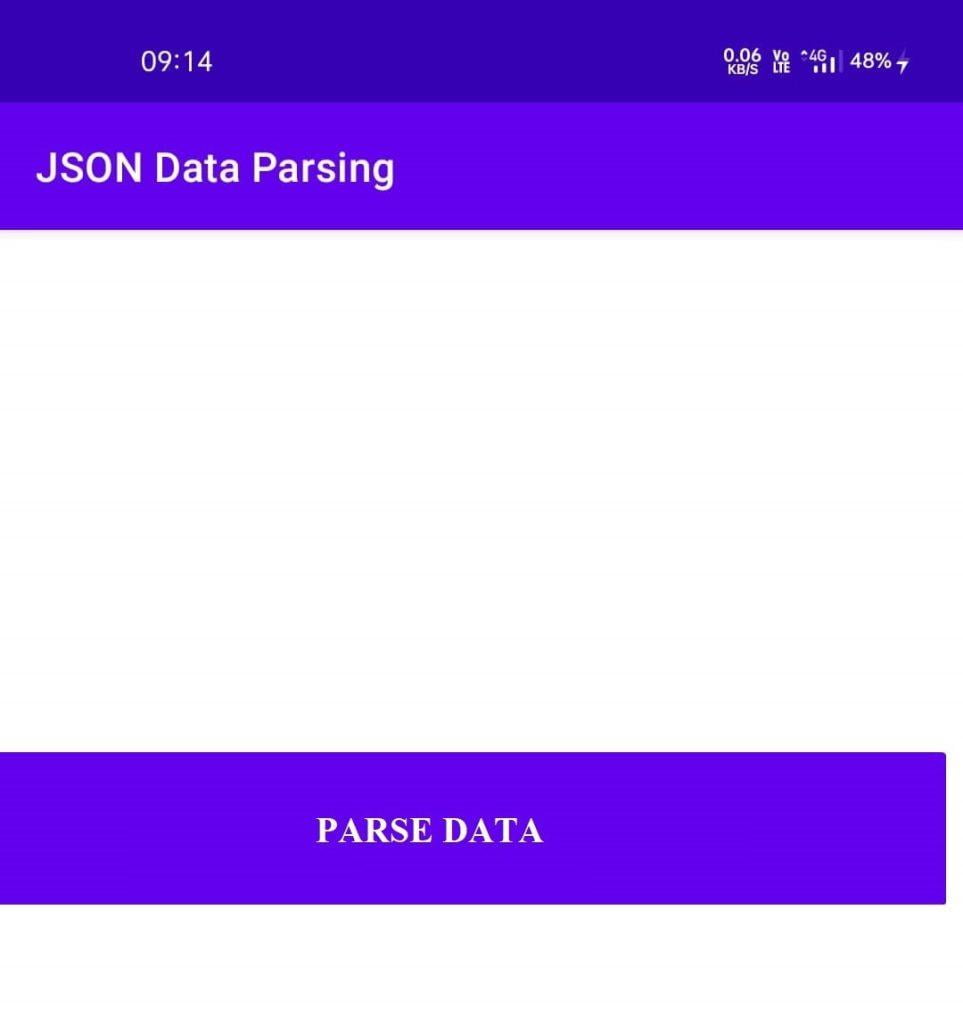
Output:
And after clicking on “PARSE DATA” items will appear.
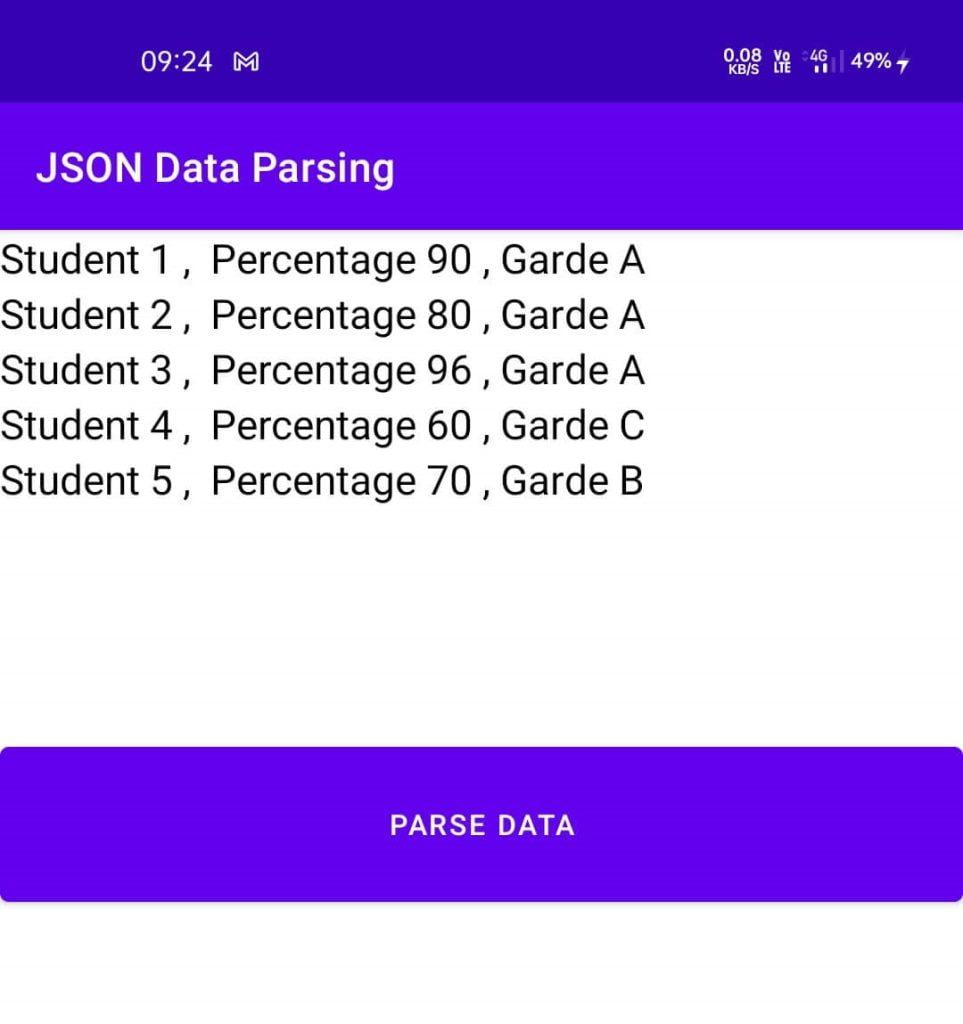
Congratulations, Parsing JSON Data in Android is complete and ready. In this article, you have seen how we can implement JSON Data parsing in Android Studio in the easiest way and right way as well.