Android Studio is an integrated development environment(IDE) that provides tools to build, test, and run android applications. It also provides a set of tools and libraries to make android applications. Installing Android Studio is a very simple process with a few steps. So in this article, we are going to see how you can download and install Android Studio on Windows devices. You can download Android Studio from the official website of Android Studio:
Link to install android studio on windows: https://developer.android.com/studio
By using android studio we can create apps for
- Android phone
- Android tablets
- Android Wears
- Android TV
- Android Auto
So, to install and download Android Studio some system requirements must meet.
- 1. 4GB RAM or more
- 2. 8GB Disk space(Integrated Development Environment And Android studio SDK And Android Emulator)
- 3. 1280 x 800 minimum screen resolution etc.
You can also see the YouTube video from our channel on “How to install Android Studio on Windows Devices”
Steps to Install Android studio
1. Click on the Download Android studio button. And then Android studio will start to download

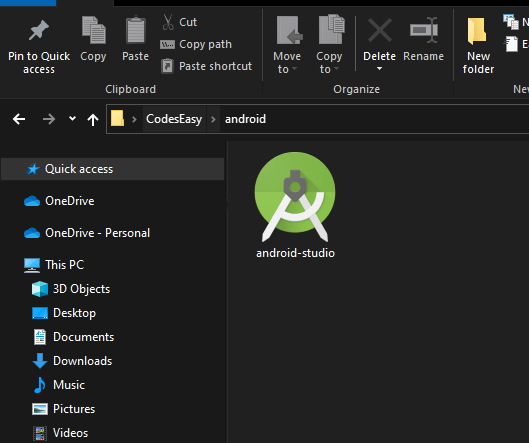
2. So now you can see the icon of Android studio. Double click the icon
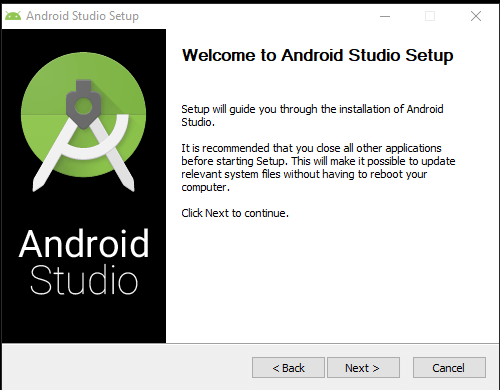
3. Installation process will start. And below screen will pop-up click “Next” to proceed.
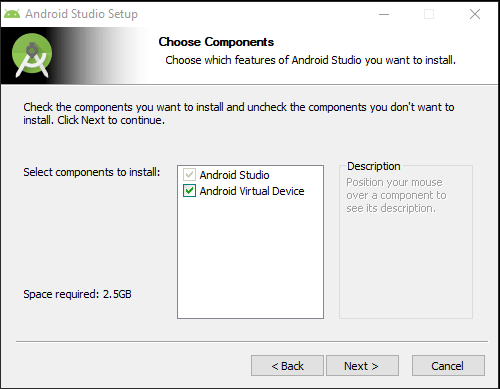
4. So, Now Android Studio will download components. And select components and click “Next” to proceed.
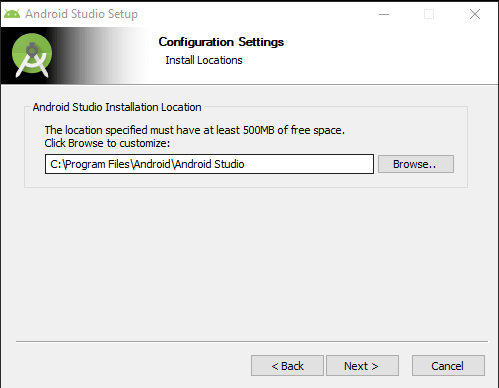
5. Next screen will contain which location the Android studio should be located. So Select the location where you wish to store Android Studio and then click “Next” to proceed
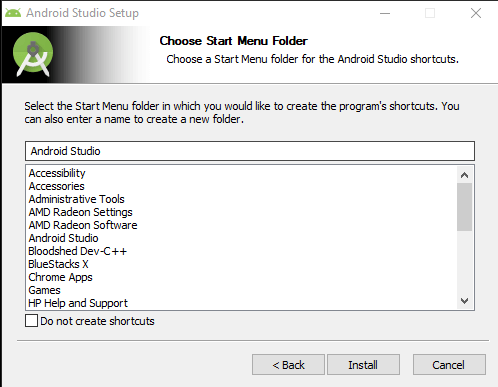
6. So next you have to choose the Start Menu folder and then click “Install” to proceed. and then Android studio will start the installation of Components
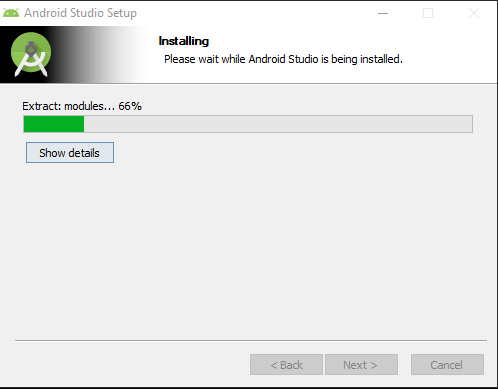
7. The below screen shows that Android studio is installing. So wait for a while to let it complete the installation process.
8. Installation process is complete click “Next” to proceed. And then click Next to proceed.
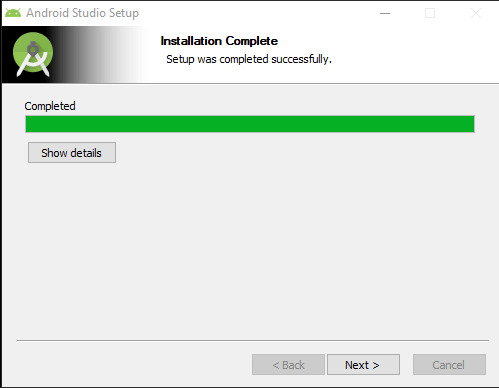
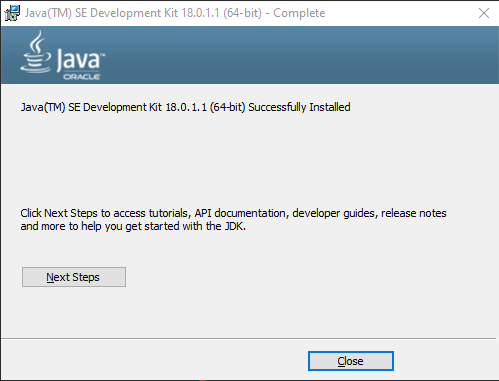
9. The next screen will contain that the process is complete and the android studio is successfully installed. You can start Android Studio and use it.
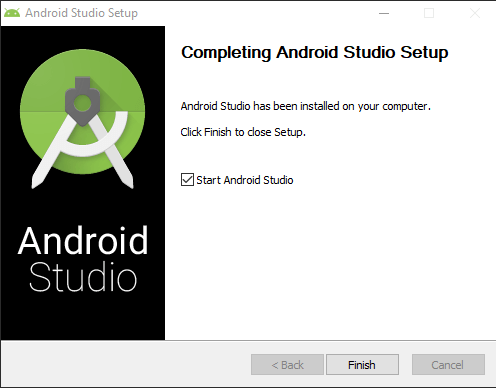
10. Because the above checkbox is checked Android Studio will start Automatically after some duration of time and if you are opening it for the first time it will take time to load. and after some time it will load faster.
And here, Congratulations Android studio is successfully downloaded and installed on windows devices.

How to install JDK?
You need to install JDK to use Android studio because Android studio uses Java as the Language to build a mobile application
JDK stands for Java Development Kit which contains Libraries and a set of components that provide an efficient environment to build mobile applications. Because Android of Android studio uses Java Language you have to install JDK.
So, the steps to install JDK are as follow.
1. Go to the official website of oracle and download JDK for Windows: https://www.oracle.com/java/technologies/downloads/
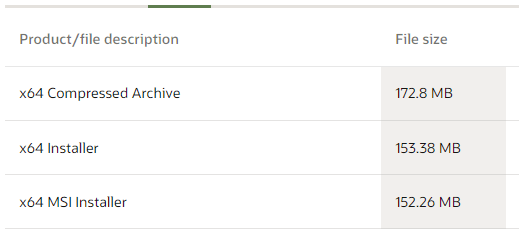
And download the appropriate version for your windows device
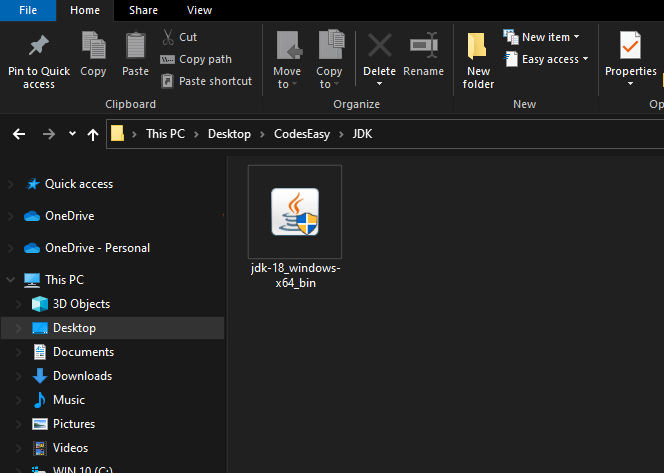
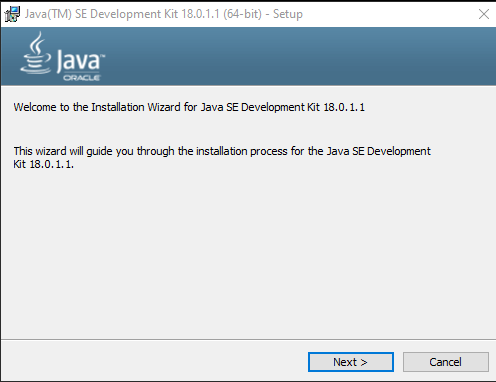
2. Double click on the downloaded file and the below screen will pop-up click “Next” to proceed
3. On the next screen it will location where to store the JDK files
4. After some time installation process will start And complete after some time.
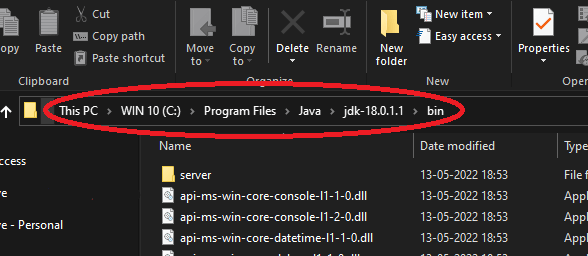
So, Now to use Java and JDK we have to set up the environment variable to use JDK. And now open the JDK folder and go to the bin folder residing in the JDK folder And copy the path of the folder
To set up the environment variable open the search bar and type “Environment variable” and press enter
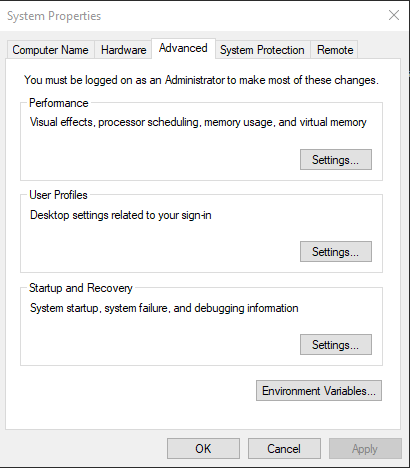
So here click on Environment Variable. And then you will see the below screen
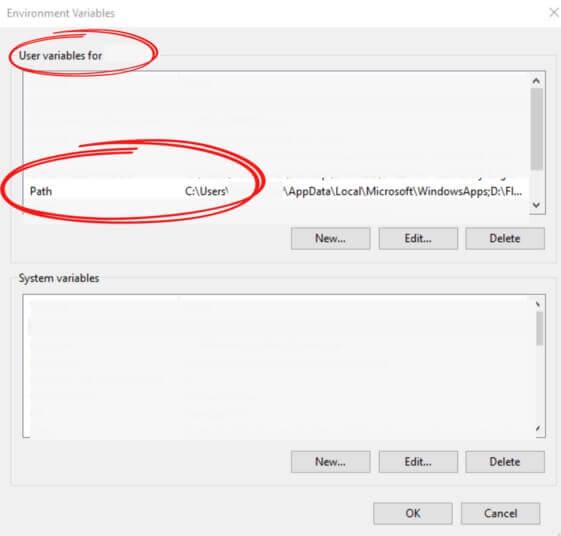
So, Here tap on “path” and then you will see a screen pop-up like the image below
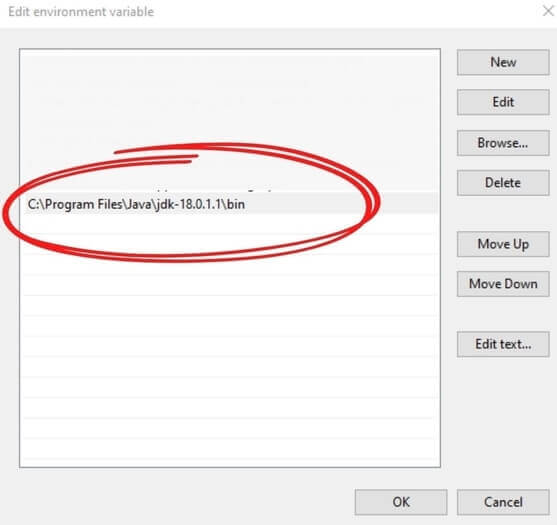
And here add a new variable by clicking the “New” button. And paste the file location of the bin folder inside the JDK folder
In this article, we have seen how you can Download and install Android Studio on Windows devices with some simple steps and with Java Development Kit to create a Mobile Application for Android Operating System.
Hello Good Day!
I want to learn from you. Do you have a Udemy account? Thanks
Yes, we do provide online classes.
Contact us at,
Email: [email protected]
Whatsapp: https://whatsapp.codeseasy.com